There are many ways to earn Robux. Making your own Roblox shirt is one of the most common way. Or you may just want to design a custom shirt for your Roblox avatar or game? Here you go. I publish this tutorial hope to help you out how to make Roblox clothes in easy way.
For simplicity, Shirts in Roblox are clothing items that wrap around your avatar’s. More specifically, the parts include torso and arms, and they can be sold or show off your style. The good news is, you can make your own shirt. Followed by uploading it, and applying it to your avatar or game characters. The whole process can be just 15 minutes. Depend on your skills and how complicated of your clothes are.
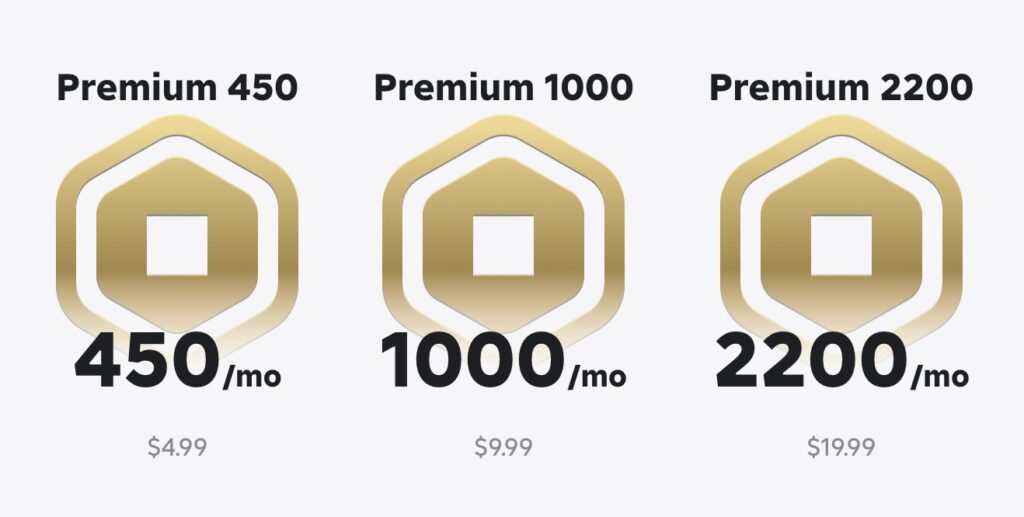
Premium Subscription needed for publishing
If you are interested in publishing shirts, a Roblox account with a Premium subscription is required. As of 2025, the premium subscription price is around USD$4.99, and you will get 450 Robux per month. You can check the latest price in Roblox Official website.
Navigate to Roblox Creation Avatar Items
Now just login to your Roblox account with the Web browser.
Go to create and under creation, you should see Avatar items. There is a sub section called “Classic”
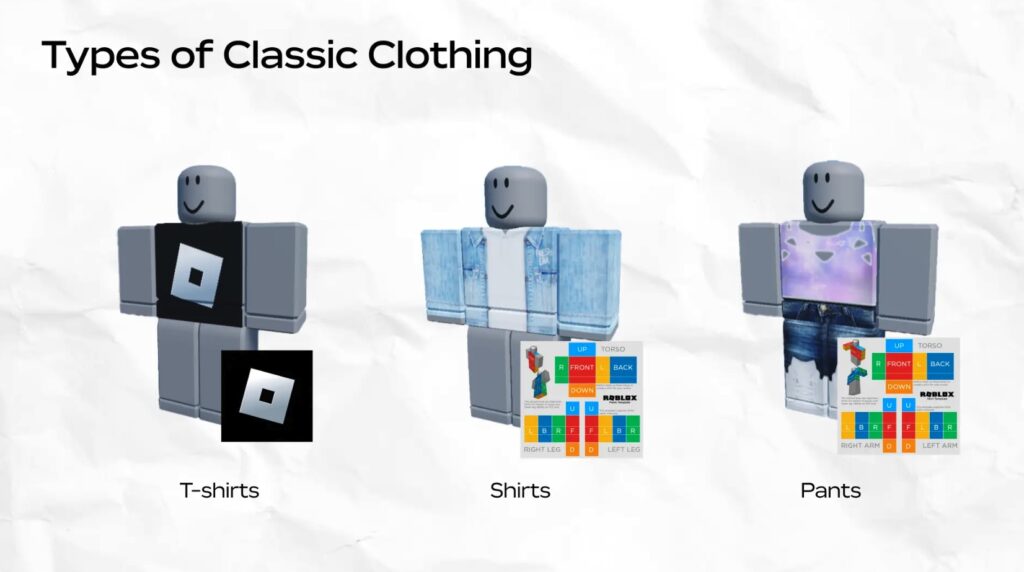
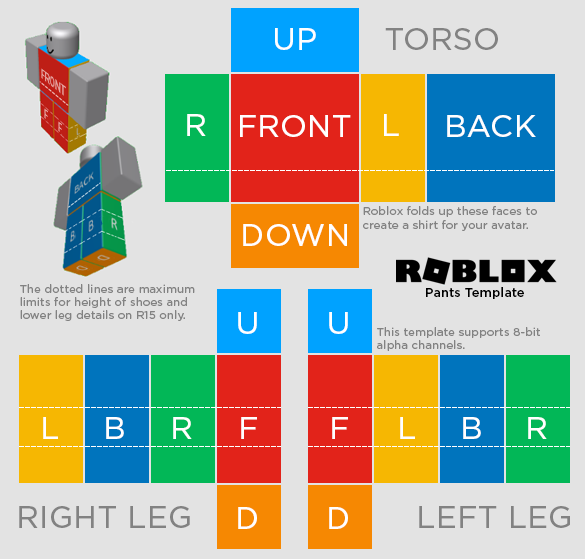
You should see Classic T-Shirt, Classic Shirt and Classic Pant.
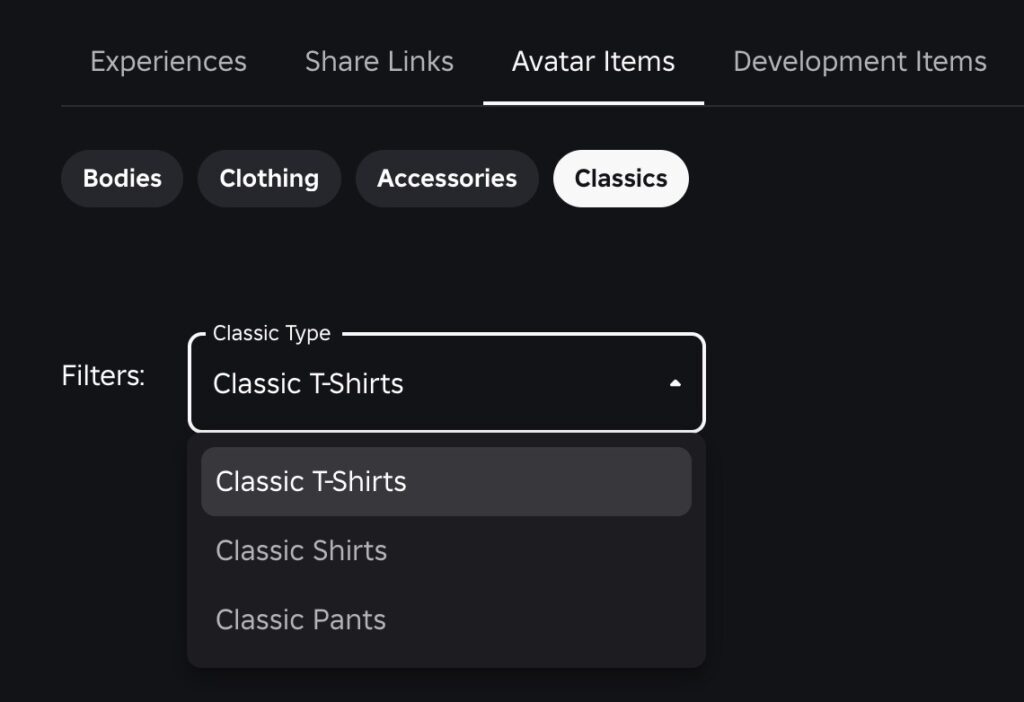
Roblox explained very well the differences between them.
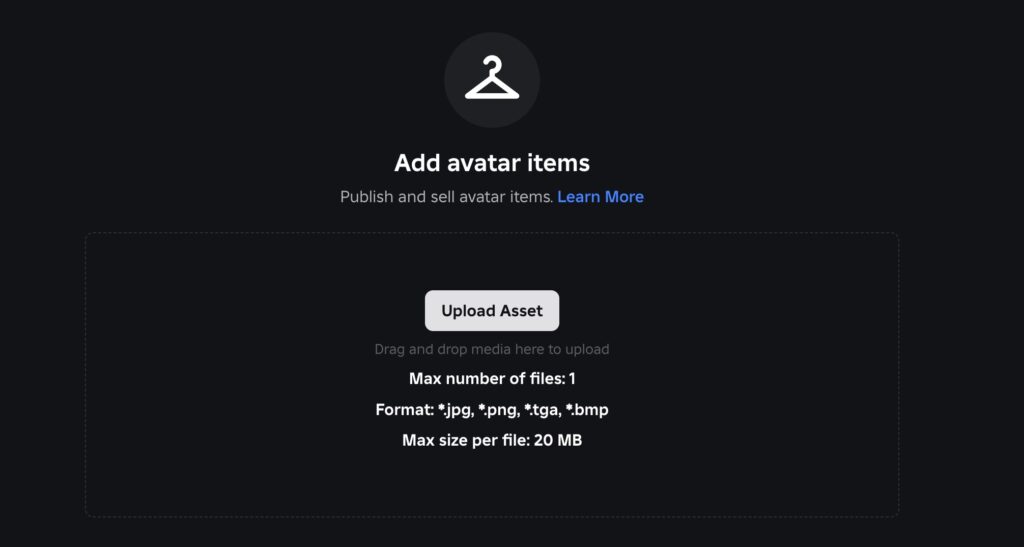
Here is the place to upload your design template and convert it to the Roblox items.
So the next thing to do is to design with some free online tools such as PIXLR, GIMP, Canva, Photopea
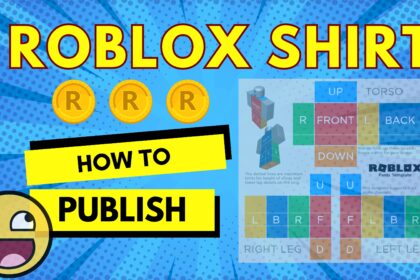
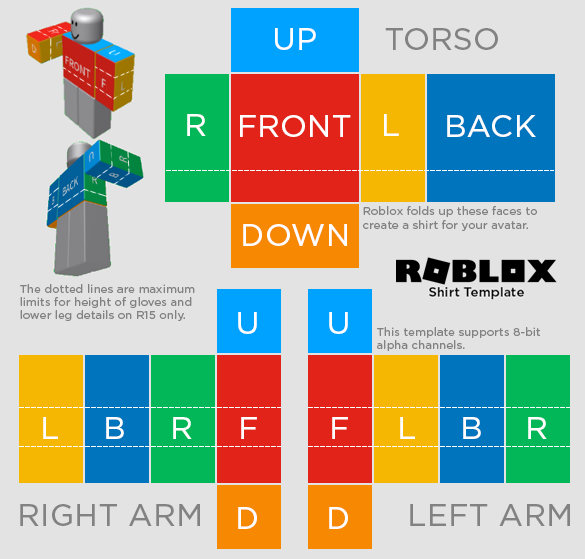
Download the Roblox Shirt Template
You can first download the Template from Roblox. The latest template should be available here.
Design Your Shirt
So now you can open the Template in any Editor,
Use the layers feature (if available) to draw over the template without covering the labels.
If this is the first time you start to make shirt, you may try fill each sections with a solid color (e.g., blue). And then add a logo or pattern on the front (e.g., a star or text). After that, color the Arms (R, L) to match the design. In addition, leave the Top/Bottom (U, D) sections matching the main color for a seamless look. Remember to keep designs within the labeled areas to avoid stretching.
Save Your Design
Alright so now you may save the file as a PNG (e.g., MyShirtDesign.png). Ensure it stays the original size, should be 585×559 pixels.
Upload Your Shirt to Roblox
Now just go back to the section mentioned previously (Roblox -> Creations -> Avatar Items -> Classics
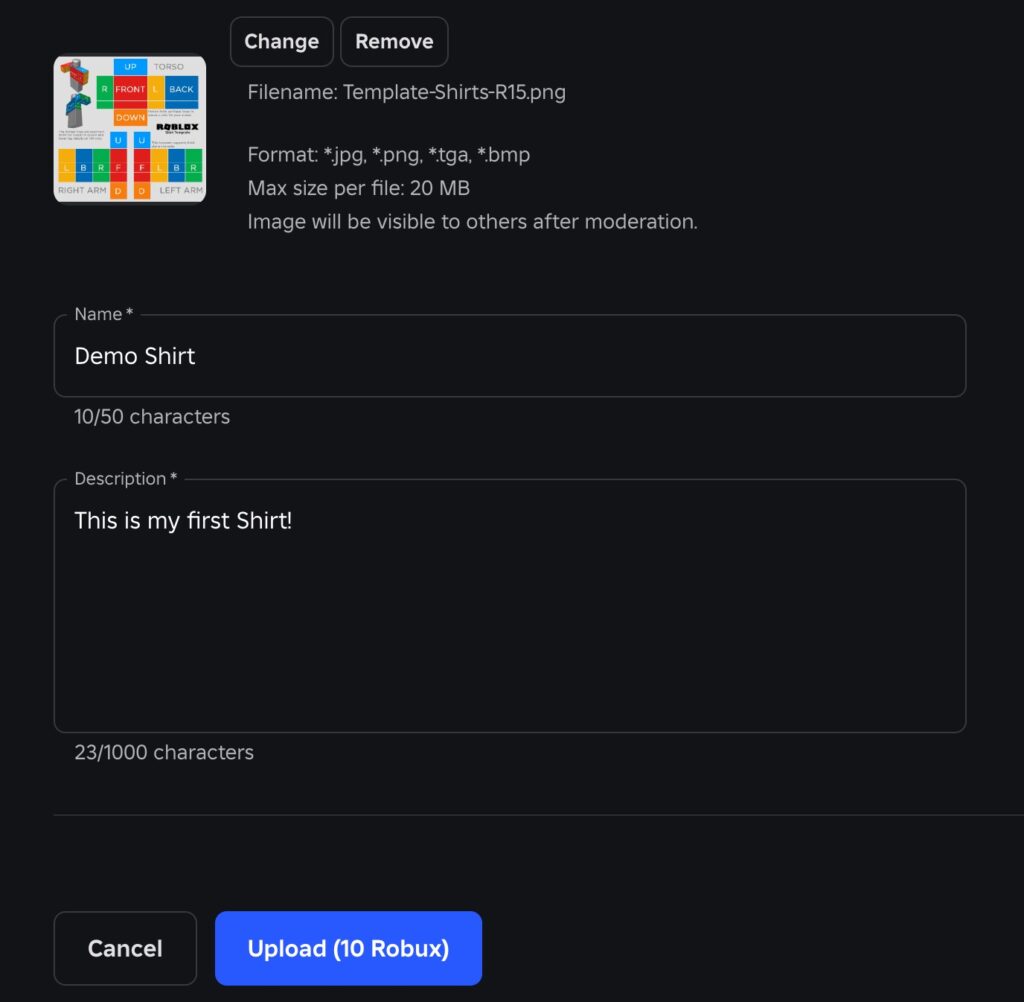
Upload the PNG file:
Input the Name and the description for your creations
You may noticed that 10 Robux is required to upload the shirts/pants
After upload, Roblox team will review your shirt to ensure it follows Community Standards (e.g., no inappropriate or copyrighted content). This can take up to few minutes or a few hours.
Get the Shirt ID
Once approved, go to your Shirts section in the Creator Dashboard. Now you can click your shirt, and copy the ID from the URL (e.g., roblox.com/catalog/123456789 — the ID is 123456789). With this ID, you can use it in Roblox Studio.
Wear or Sell Your Shirt
Congratulation! Now you can wear your custom design shirt on your avatar. Just go to your Inventory on roblox.com, find your shirt, and click Wear. Your avatar will now display the shirt in any game that supports avatar clothing.
Meanwhile, you can sell you shirt to earn Robux. In the Shirts section, click the gear icon next to your shirt and select Configure. Toggle On Sale, set a price (e.g., 5 Robux minimum for Premium creators), and save. Please noted that you’ll earn 70% of the sale price (e.g., 3.5 Robux per 5 Robux sale, after Roblox’s 30% cut).