Making Roblox game is not that difficult. One of the challenge is to handle different type of user input. Think about when you are playing Obby games or 99 nights in the forest, you need pressing a key to jump, clicking the mouse to fire a weapon, or tapping the screen on mobile. We simply call it listen and react to what players do. Being a Roblox game developer, I would like to share with you some tips on how to handle keyboard, mouse, and touch input in Roblox Studio today. By using simple examples, I will let you know how you can use different functions with variety of input parameters to make it work.
Getting Started: User Input in Roblox
In Roblox engine, there is a special service called UserInputService to detect all kinds of player input. You can simply define a local variable as below:
local UserInputService = game:GetService("UserInputService")Once you define the service, you can simply detect Keyboard presses (like W, A, S, D), you can detect Mouse actions (clicks, scrolls, movement) or you can even detect Touch gestures (taps, swipes on mobile)! To make it more interactive, you can connect events to this service to run different type of code when the player interacts.
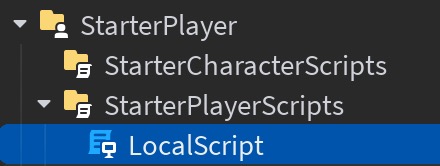
Noted that you should create LocalScript under StarterPlayer -> StarterPlayerScripts
UserInputService can only detect local player input (keyboard, mouse, or touch) on the client side.
If you create Scripts under ServerScriptService it won’t work. Why? Because those script run on the server, and it has no access to a player’s keyboard or mouse.
Handling Keyboard Input
Let’s start with keyboard input as an example. Noted that it’s just apply to player using computers, as mobile or iPAD do not use keyboard input at all.
local UserInputService = game:GetService("UserInputService")

UserInputService.InputBegan:Connect(function(input, isProcessed)
    if isProcessed then return end
    if input.UserInputType == Enum.UserInputType.Keyboard then
        print("Key pressed:", input.KeyCode)
    end
end)
The code above initialize the UserInputService. And then waiting for the user input and print out the statement if any. Noted that the input.KeyCode tells you which key was pressed (e.g., Enum.KeyCode.Space). Also, the isProcessed is a boolean checking if Roblox already used the key (like typing in a chat box).
Let’s look at another example. This time we use the space for the jump action in Roblox. By default, space already reserved for jump action.
Example of Detecting Jump action
UserInputService.InputBegan:Connect(function(input, isProcessed)
    if not isProcessed and input.KeyCode == Enum.KeyCode.Space then
        print("Jump!")
        game.Players.LocalPlayer.Character:FindFirstChild("Humanoid").Jump = true
    end
end)
Handling Mouse Input
Other than keyboard, mouse input is detected in a similar way. However, instead of KeyCode, you use UserInputType.
Example of Detecting Mouse Click
UserInputService.InputBegan:Connect(function(input, isProcessed)
if input.UserInputType == Enum.UserInputType.MouseButton1 then
print("Left Mouse Button Clicked!")
elseif input.UserInputType == Enum.UserInputType.MouseButton2 then
print("Right Mouse Button Clicked!")
end
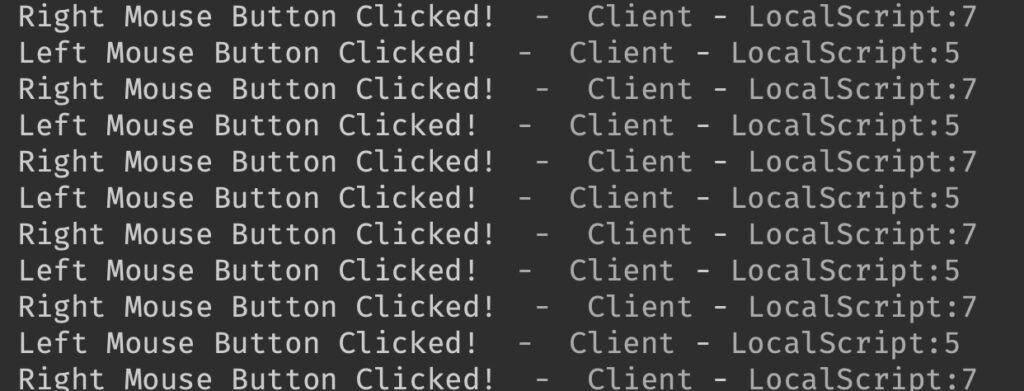
end)In this example, it detect if the user click the left click button of the mouse (MouseButton1) or right click button (MouseButton2). Once user clicked, Roblox studio print out the statement in the output window.
How to Detect Mouse Movement?
Easy! You can also track when the mouse moves easily by the following example:
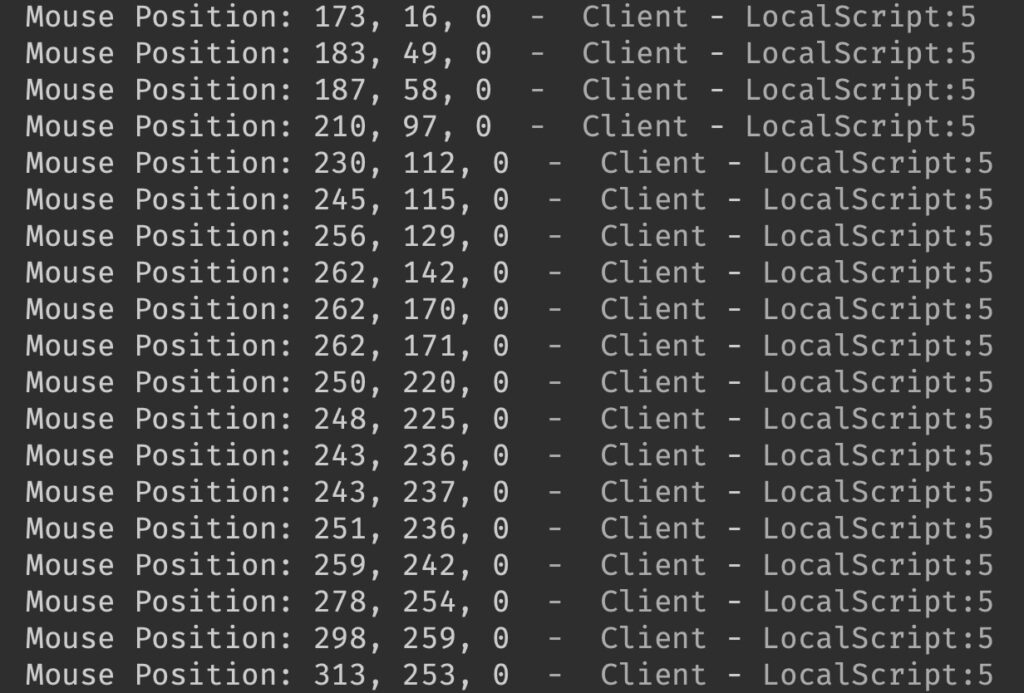
UserInputService.InputChanged:Connect(function(input)
    if input.UserInputType == Enum.UserInputType.MouseMovement then
        print("Mouse Position:", input.Position)
    end
end)
When you move around with your mouse, you should see the results keep pop out in the output window
Handling Touch Input (For Mobile)
How about for those Mobile Users? Well, Roblox sends touch events as a type of UserInput. Let’s look at below example
UserInputService.TouchStarted:Connect(function(touch, isProcessed)
    print("Screen touched at:", touch.Position)
end)

UserInputService.TouchEnded:Connect(function(touch, isProcessed)
    print("Touch ended at:", touch.Position)
end)
When you add the script to the StarterPlayerScript, and once you touch the mobile screen, your position will be recorded and print out.