Most of the time you won’t create a Roblox game with players alone. You should allow some interactions between players and the NPC. Maybe a shop for buying items, or a RPG games for some guidances, or setting a tricky trap, whatever. Then you need to know how to use Proximity prompts in Roblox Studio.
Basically you can create interactive moments in your game by triggering actions, once a player gets close to an object or character. In this beginner-friendly tutorial, let’s take a closer look of what proximity prompts are. I will show you how make an interactive NPC (non-player character) that speaks to the player. Let’s get started!
What Are Proximity Prompts?
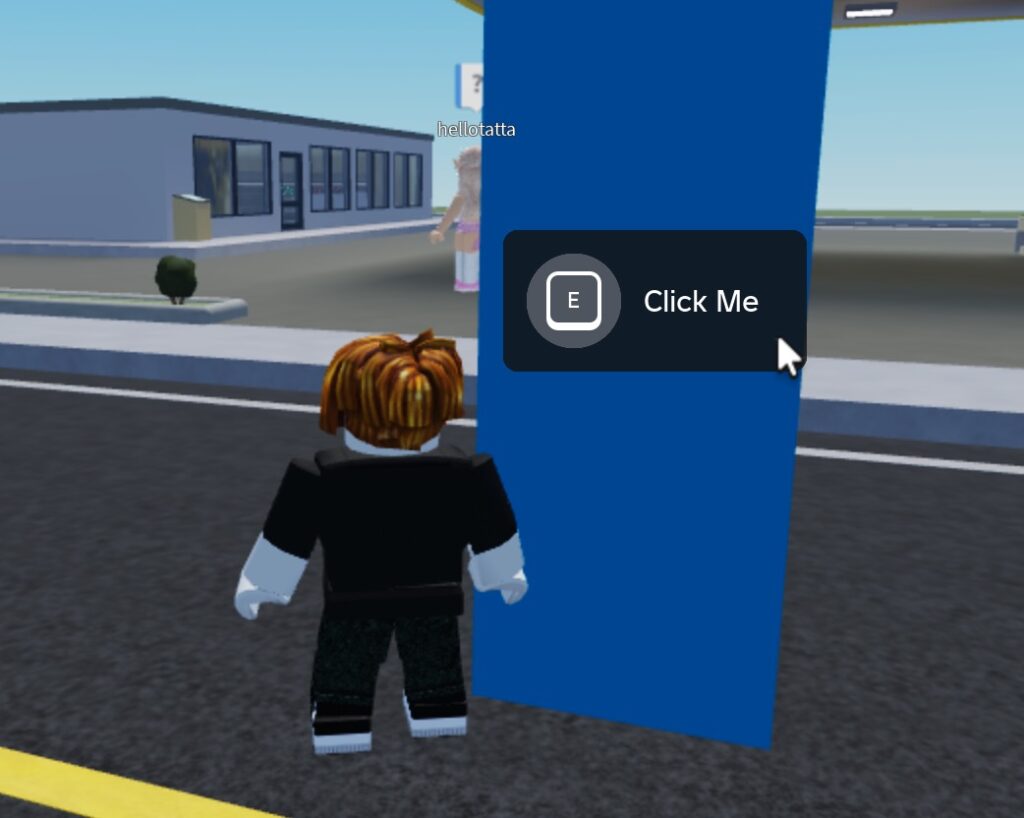
Generally speaking, a ProximityPrompt is a Roblox Studio object which displays a button or message (for example, “Press E”) when a player is near a specific part or model.
So when you presses the prompted key, it triggers an action. Let me give you an example, when you open a door, you can use the prompt to let the player interact like inputting a passcode. Or you may make an NPC for player starting a dialogue, followed by giving them an item.
In another tutorial I mentioned about the graphical user interface (GUI), Proximity prompts provided a great alternative for creating intuitive interactions without needing complex UI systems. So it’s so common for things like NPCs, shops, or interactive objects scenario.
How to add Proximity Prompt to a NPC?
Let’s do a real quick example. In the Home tab of your Roblox Studio, click Part and add to the game space. Color the parts to make the thing look more unique. Now Right-click the part, select Insert Object, and choose Humanoid. This makes the part can interact with the game world.
Insert a Proximity Prompt:
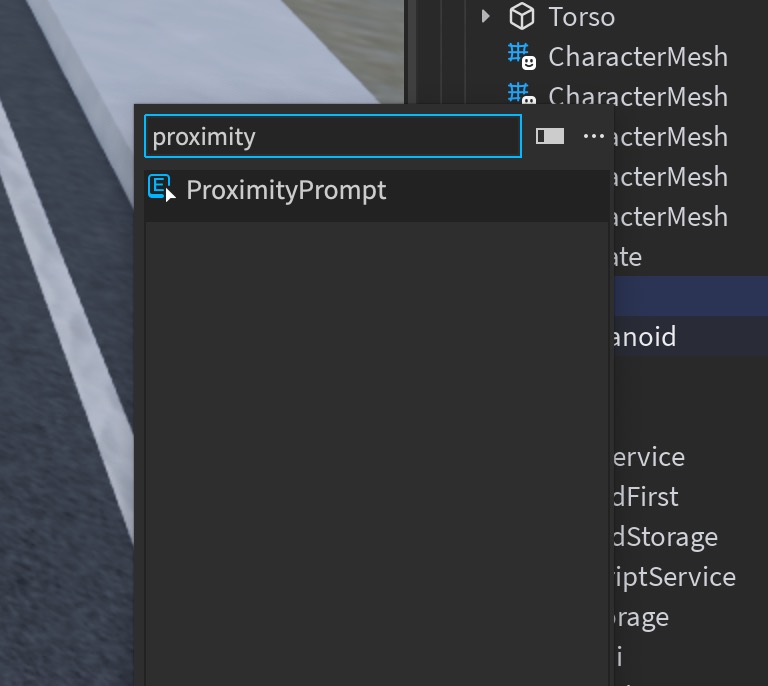
Right-click the part in the Explorer, select Insert Object, and choose ProximityPrompt.
Configure the Prompt:
There are few basic properties you can modify in the ProximityPrompt. Go to the Properties window, I summarized in the below table:
| Properties | Meaning |
| ActionText | The action wording shown in the prompt. Like “Click Me”. Make it as simple as possible |
| ObjectText | Just simply the label of the object |
| HoldDuration | How long you would like the player to hold the key. If you set to 0, no hold required. Usually I make it 2, for 2 seconds |
| MaxActivationDistance | How far you would like the player see the prompt appear. For example, 10 meaning within 10 studs to see the prompt |
| KeyboardKeyCode | Which key you would like to use. For example, Enum.KeyCode.E meaning the player need to press E to activate. You can change whatever you want. |
If you want to know more about more properties, please go to the Roblox documentation.
Create a Dialogue System with a Billboard GUI
Alright now we learn how to add Proximity Prompt to an object. Next thing we are gonna do it together is add a billboard. Billboard is something in Roblox Studio showing some display text above the object.
Few things you need to pay attention to. First you can set in the properties of the Billboard GUI as AlwaysOnTop equal to true. This can make sure the GUI is visible through obstacle like walls. Next you can resize it whatever you want.
And then in the explorer, just add a Text Label as the child of the billboard. You can then configure the text label, for example, the text, background transparency, text colour, etc. I will suggest set the Max distance properties to 25. It will make sure the text only appear within the distance. If it remain infinity, you will find it very weird.
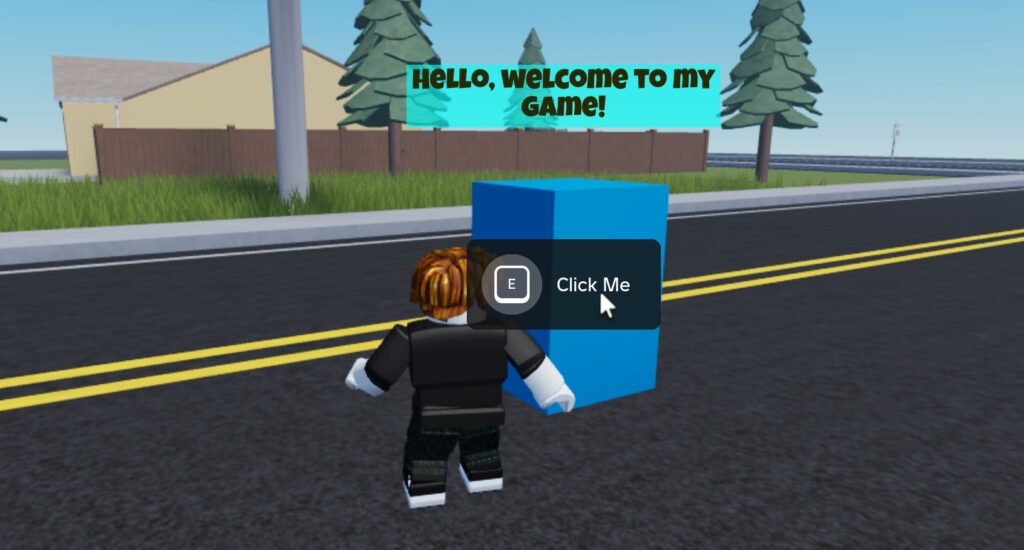
Below is a Billboard I just made for demonstration:
Script the Interaction: Proximity Prompt and Billboard GUI
Let’s do our final step. Navigate to the ServerScriptService in the Explorer. Insert a Script. Name it NPCInteraction.
Scripting the Interaction Logic:
Open the script editor and use the following code to show the dialogue (Text Label) when the player activates the prompt:
local NPC = workspace.NPC
local ProximityPrompt = NPC.ProximityPrompt
local BillboardGui = NPC.BillboardGui
local function onPromptTriggered(player)
-- Show the dialogue
BillboardGui.Enabled = true
-- Hide the dialogue after 5 seconds
wait(5)
BillboardGui.Enabled = false
end
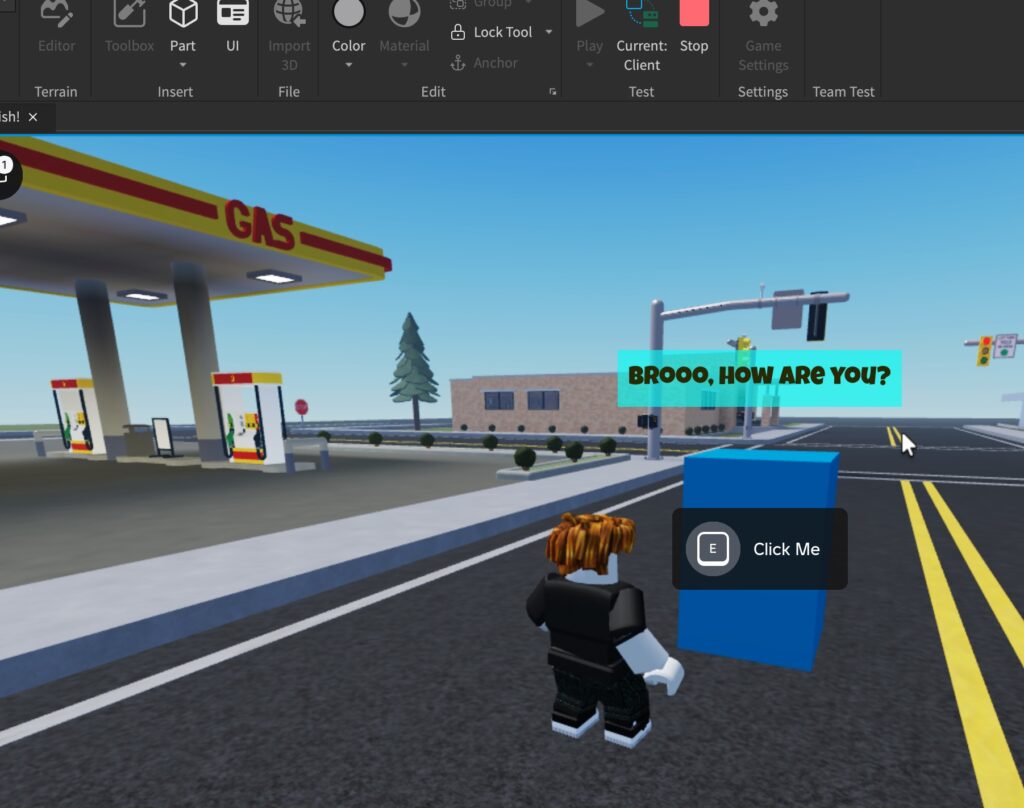
ProximityPrompt.Triggered:Connect(onPromptTriggered)So how does the above scripting work? The script listens for the ProximityPrompt to be triggered (when the player presses E). When triggered, it enables the BillboardGui to show the dialogue (“Brooo, how are you?” in this case). After 5 seconds, the dialogue disappears by disabling the GUI.
Remember you should first set the BillboardGUI disable.
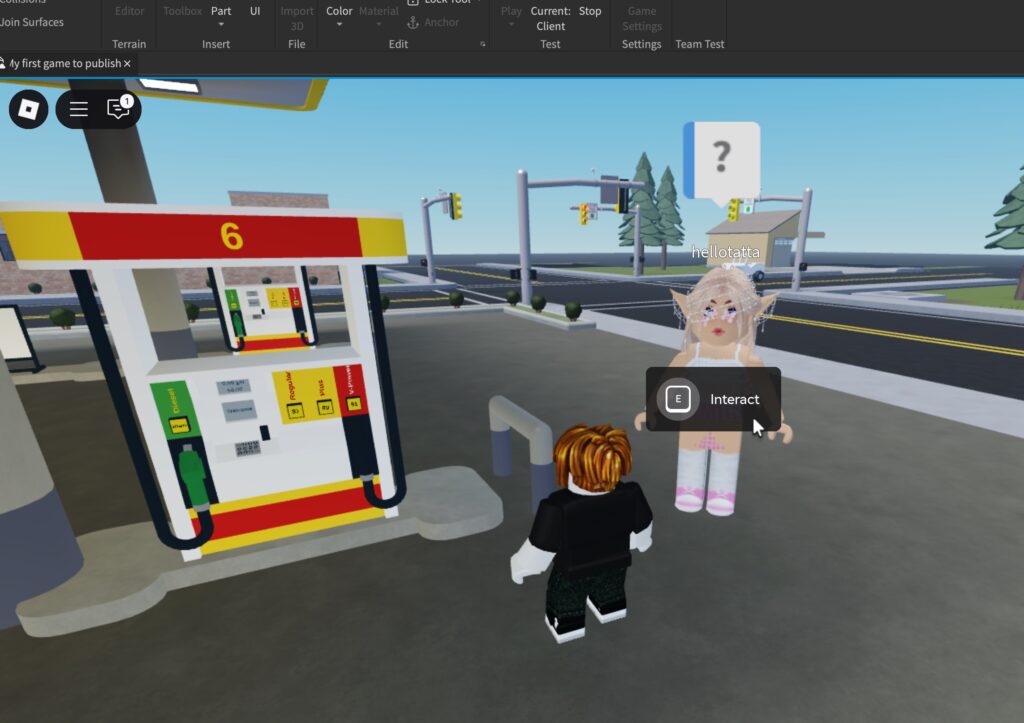
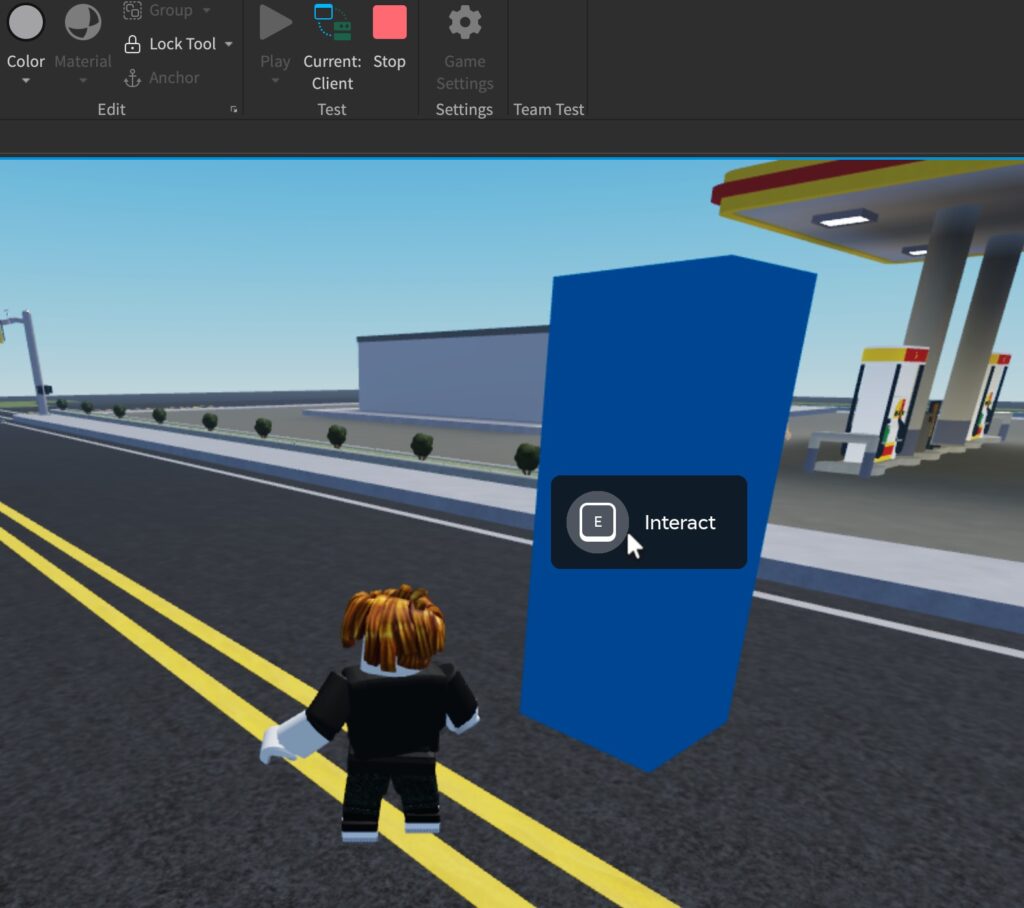
Now you can test it in your game. Walk up to the NPC part. When you’re within 25 studs, you’ll see the prompt (“Click Me”). Press E and hold, and the dialogue (“Brooo, How are you?”) should appear above the NPC’s head for 5 seconds.
Bonus: Enhance the Experience
You can even make some “Random” dialogue for the NPC. First, create a table of dialogue lines and randomly select one each time the prompt is triggered by using the random function:
local NPC = workspace.NPC
local ProximityPrompt = NPC.ProximityPrompt
local BillboardGui = NPC.BillboardGui

local DialogueLines = {
	"Hello, welcome to my game!",
	"Do you want to join my challenge?",
	"I’ve been here for a decade!"
}

local function onPromptTriggered(player)

	local randomLine = DialogueLines[math.random(1, #DialogueLines)]
	BillboardGui.TextLabel.Text = randomLine
	BillboardGui.Enabled = true
	wait(5)
	BillboardGui.Enabled = false
end

ProximityPrompt.Triggered:Connect(onPromptTriggered)
Now it should be all work probably. Try it out and let me know if you have encounter any problem 🙂