You know what, people just keep asking me how to make a skin in Roblox and earn Robux. Well, creating a custom skin in Roblox involves some design skills. Also you need to apply a custom texture to your avatar. Typically, through clothing or character models. Here you go, I plan to make this simple tutorial hope to help you step-by-step create a skin by yourself, hopefully, in 10 minutes. Let’s get started.
Understand What a “Skin” Means in Roblox
Remember that in Roblox, a “skin” usually refers to customizing your avatar’s appearance. Basically, it refer to Clothing (shirts, pants, or t-shirts) or Character models (using a custom 3D model or texture) or Accessories or decals to enhance your avatar’s look.
Clothing Skin
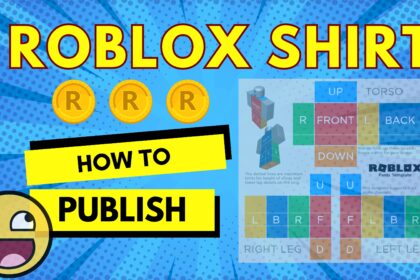
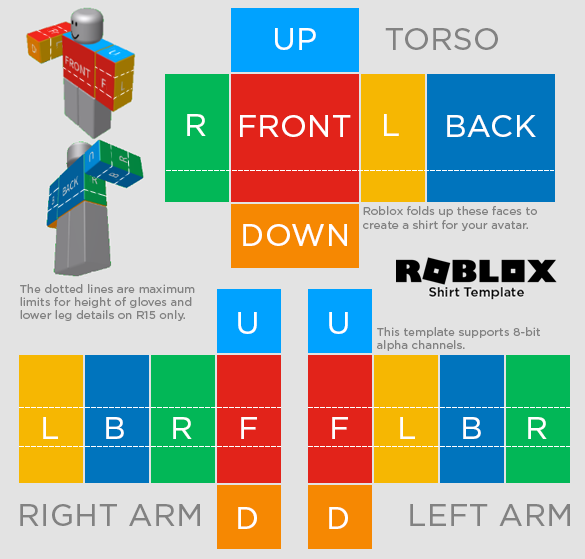
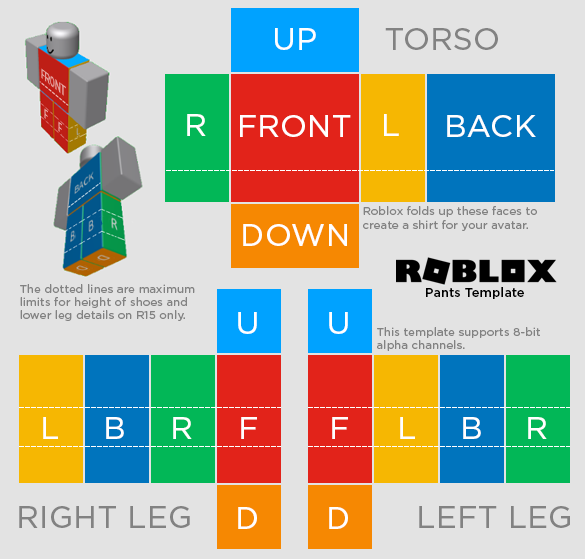
The most easy part I am gonna teach you is clothing and textures. Extremely easy to do, you just need to work with 2D templates (A PNG file literally). Here is an example for a shirt and pant by Roblox official:
However, for advanced character model skins, you will probably need 3D modelling skills. In addition, you need to access to specific Roblox games or development tools. This is an online course I highly recommend you to try:
ONLINE COURSE
Create a Custom Clothing Skin
Most Roblox “skins” are created as custom shirts, pants, or t-shirts. Let me show you step by step how to make one
Step 1: Download a Template
First you can go to the Roblox Developer Hub or Roblox’s avatar creation section to download the official clothing templates (Or you can use the one above)
Shirt Template: For full upper-body clothing.
Pants Template: For lower-body clothing
T-Shirt Template: A simpler 2D image applied to the front of your avatar.
Noted that the templates are 585×559 pixel PNG files with transparent backgrounds. You can tell the image showing the layout for different body parts (torso, arms, legs).
Step 2: Design Your Skin with free tool
There are tons of free editors available. You can use an image editing tool like GIMP, Canva, or Photopea (browser-based free clone of photoshop).
If you Laptop already got the Paid Tools like Adobe Photoshop or Affinity Designer, that’s good.
Let me give you an advice, most library PC in your home town come with free Photoshop (At least the case in Canada), you can just make it inside the library!
Step 3: Editing the template
Just simply open the template in your editor and design your skin. Add colors, patterns, or designs to the template sections (e.g., torso, left arm, right arm).
One quick tip, ensure your design aligns with the template’s marked areas to fit correctly on the avatars. From my experience, just keep designs simple for clarity in-game. And please please please avoid copyrighted images or logos to comply with Roblox’s Community Standards, otherwise your item may be removed.
Finally, Save your file as a PNG with transparency preserved, that’s it.
Step 4: Upload to Roblox
Here you go. Just few more steps. Go to the Roblox website and log in.
Navigate to the Create section (top menu). You will navigate to the Creator Hub.
And then go to Creations in the navigation menu. There is one tab called Avatar items
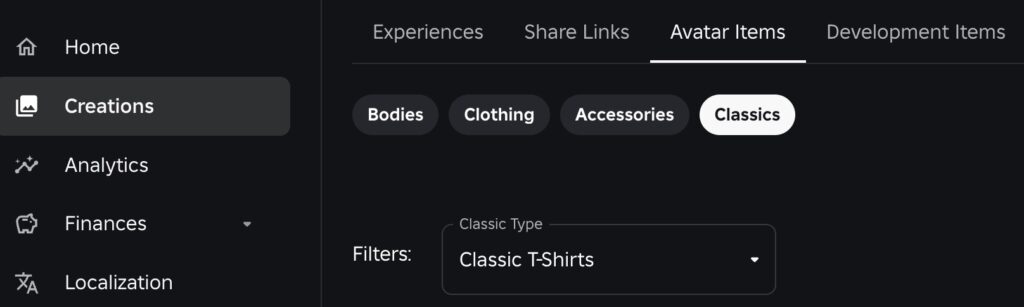
Choose Classics. There are Classic T-Shirts, Classic Shirts and Classic Pants
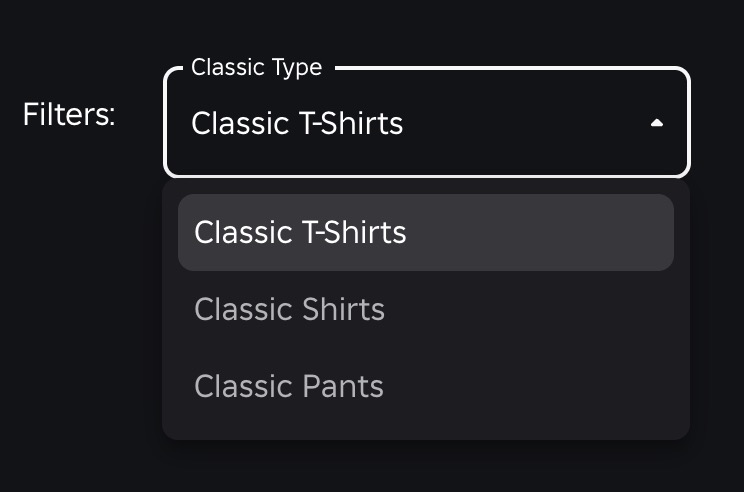
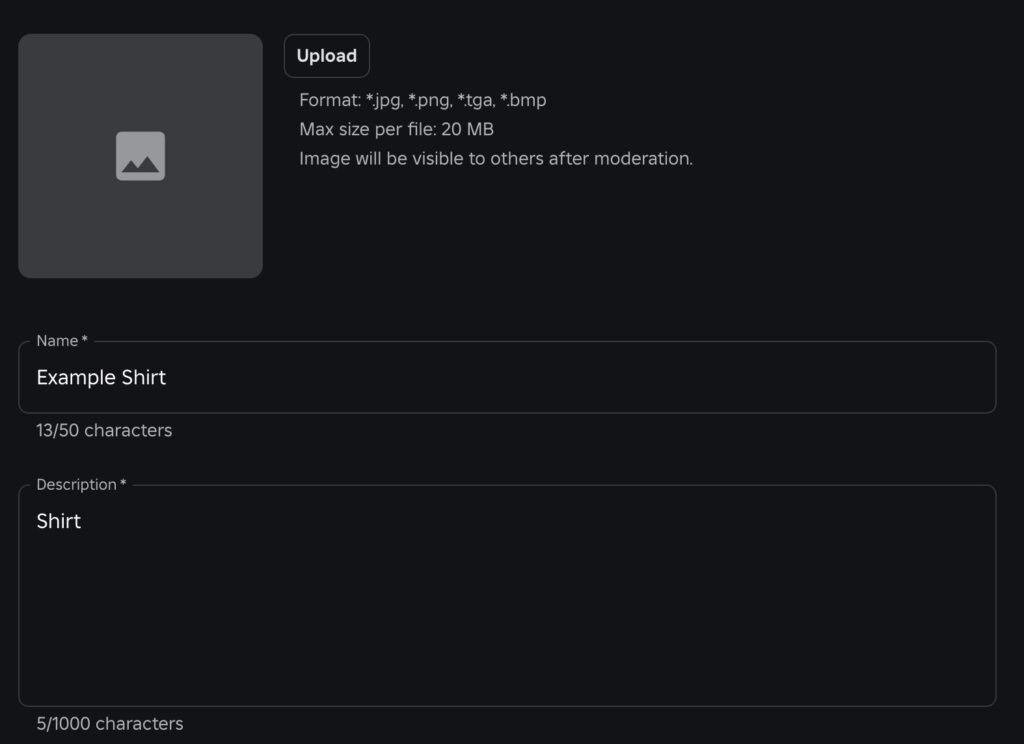
For example, you choose Classic Shirt. Click Upload Asset and upload your designed PNG file with name and description
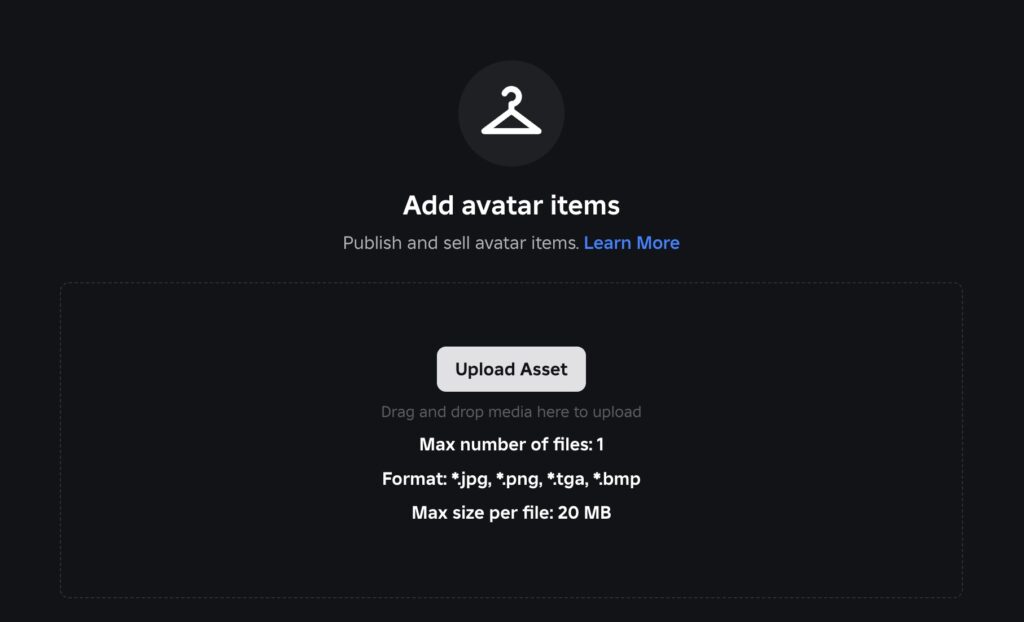
Noted that uploading costs 10 Robux for shirts/pants, but t-shirts are free.

Once approved (usually instant but may take longer if moderated), your clothing will appear in your inventory. Congratulation!
Final Step: Equip Your Skin
Now you just need to go to the Avatar Editor in Roblox. Select your uploaded shirt, pants, or t-shirt from your inventory and equip it. Next you can combine with accessories or other items to complete your look. Hope you enjoy this tutorial and I hope you subscribe our channel and share with your friends 🙂
Have a goooooood day!