When you start making your own games, you probably face a situation that you would like to add some images to the surface. But wait a second, you can’t really find any image search in the toolbox. Well, here you go: Roblox use the term “DECALS” to represent the way of adding visuals to your games.
In this beginner tutorials, I will explain how to use decals image ID to create image labels, how to upload your own decals, and some helpful tips for making beautiful user interface. Let’s get started!
What Are Roblox Decals?
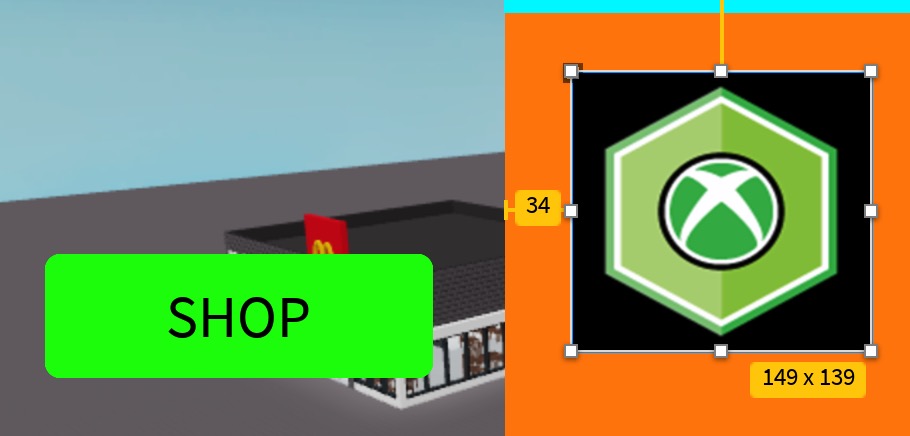
To understand what is Roblox decals, you can just imagine it’s something apply to surfaces in your Roblox games. For example, walls, objects, or parts, to add unique designs, logos, or artwork. Well, you may wondering why not use textures? Texture tile repeatedly across a surface but decals stretch to fit the entire area of the surface. Let me show you a simple example:
So you can perfectly adding any images to your games. What you need is copy the Decals ID and paste to the image ID field in property of image label. That’s it, super simple.
How to Use Decals to Create Image Labels?
Well, first you need to know what’s image label: Image labels in Roblox are GUI elements that display images on a player’s screen. It’s very useful and often used for menus, HUDs, or in-game interfaces.
Using your UI interface in Roblox Studio, add ScreenGui and then ImageLabel

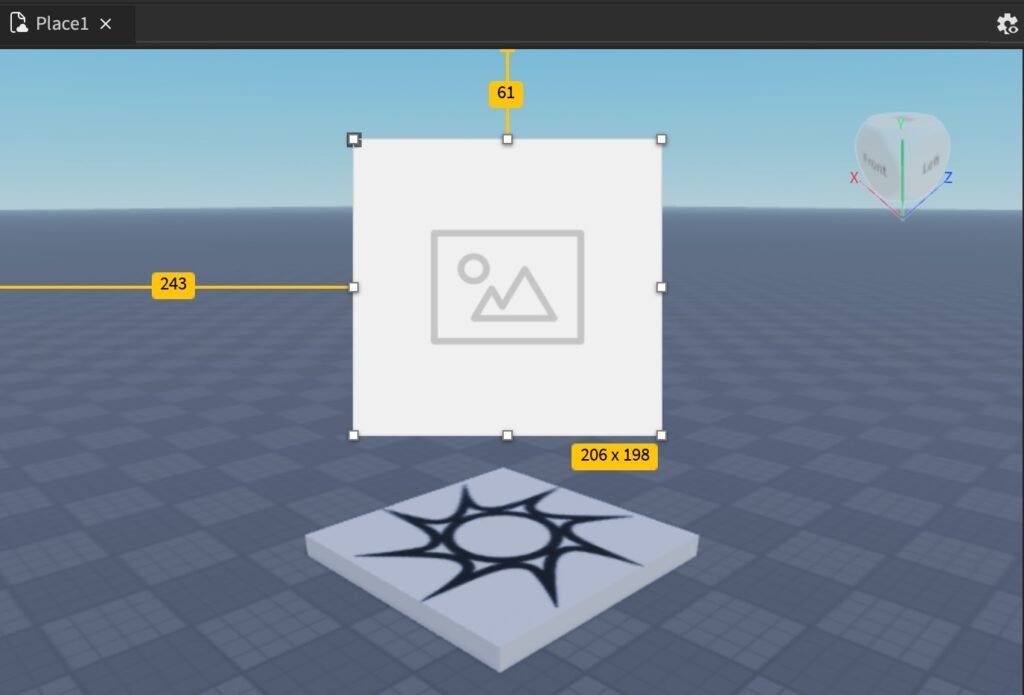
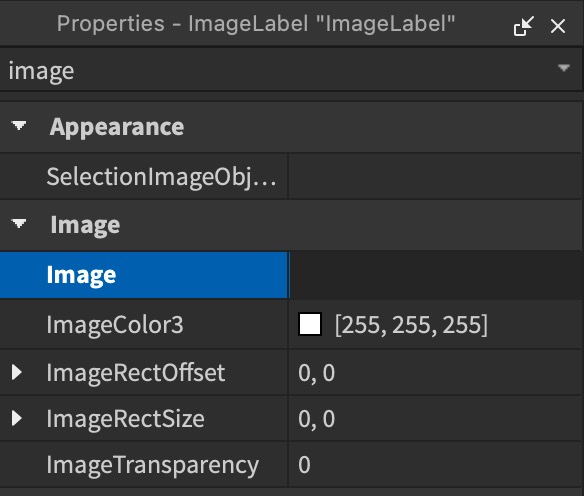
After that, go to ImageLabel’s properties, search image, you should find a field for input image ID (this is the place for copy and paste the decals ID)
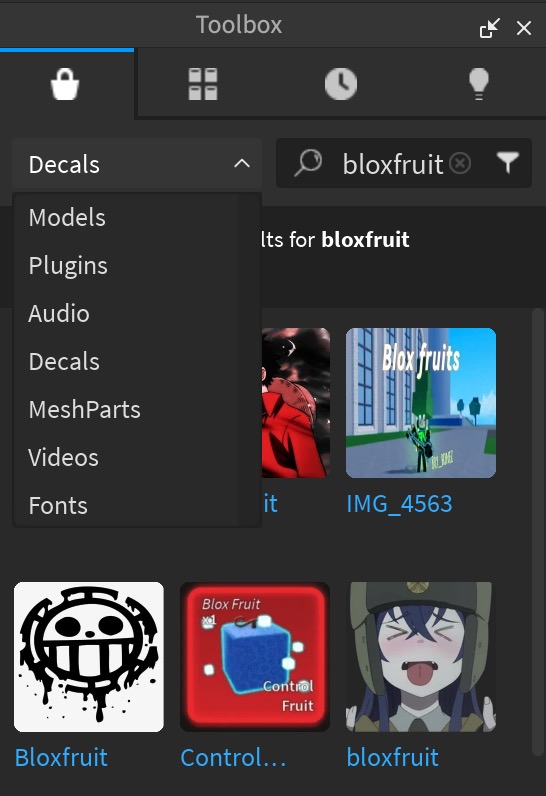
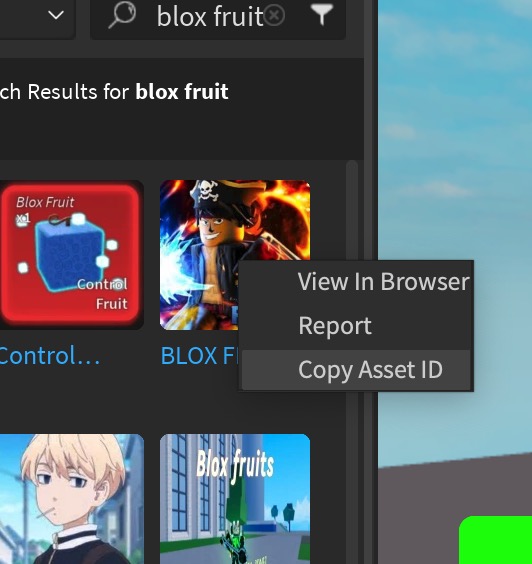
So now you can search your desired image in the toolbox. Remember choose the Decals first, don’t search under Model.
You need the decal’s unique ID (Asset ID) to use it in an image label. You can either use an existing decal from the Roblox Creator Marketplace or upload your own images. Will discuss later how to do it.
Upload your own Decal images
Another way is to add a decal image in the Creator Marketplace:
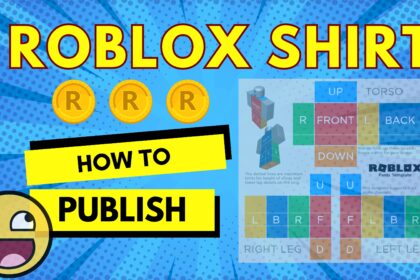
Go to Roblox.com and then under create section, you can choose Creations. And then go to Development items, you should see Decals. Just upload your own images. (Remember to follow the size and policy, some images will be rejected immediately like personal image.

Apply the Decal to the Image Label:
Now, you can go back and select the ImageLabel in the Explorer again. Remember that in the Properties window, find the Image property. Paste the decal’s asset ID into the Image field. Press Enter.
You should then see something like this: rbxassetid://1788759270
Congratulation! The image from the decal will now appear in the label on the Roblox Studio player screen. For sure you can further customize the Image Label, for example, adjust the Transparency property (0 = fully visible, 1 = invisible) to make the image more or less opaque. Or use the BackgroundTransparency property to hide the label’s background if needed. One small tip is using the “UIAspectRatioConstraint” to maintain the image’s aspect ratio when resizing.